After the demolition was complete I let the area dry out for about a month. I ran a boat Caframo Air Dryer right in the hole. The strength of the stick built cabin sole is amazing. I could walk around the unsupported area with little flexing.
I could feel a challenge coming up. The sole curves up from the center and the existing floor thickness is variable from top to bottom due to the filler. There is no way to simply lay in a single piece and have it easily align on all sides. I decided to build it back up in many pieces. There is also the issue of how to match the coloring and grain. I decided to take it one step at a time and see how things materialized.

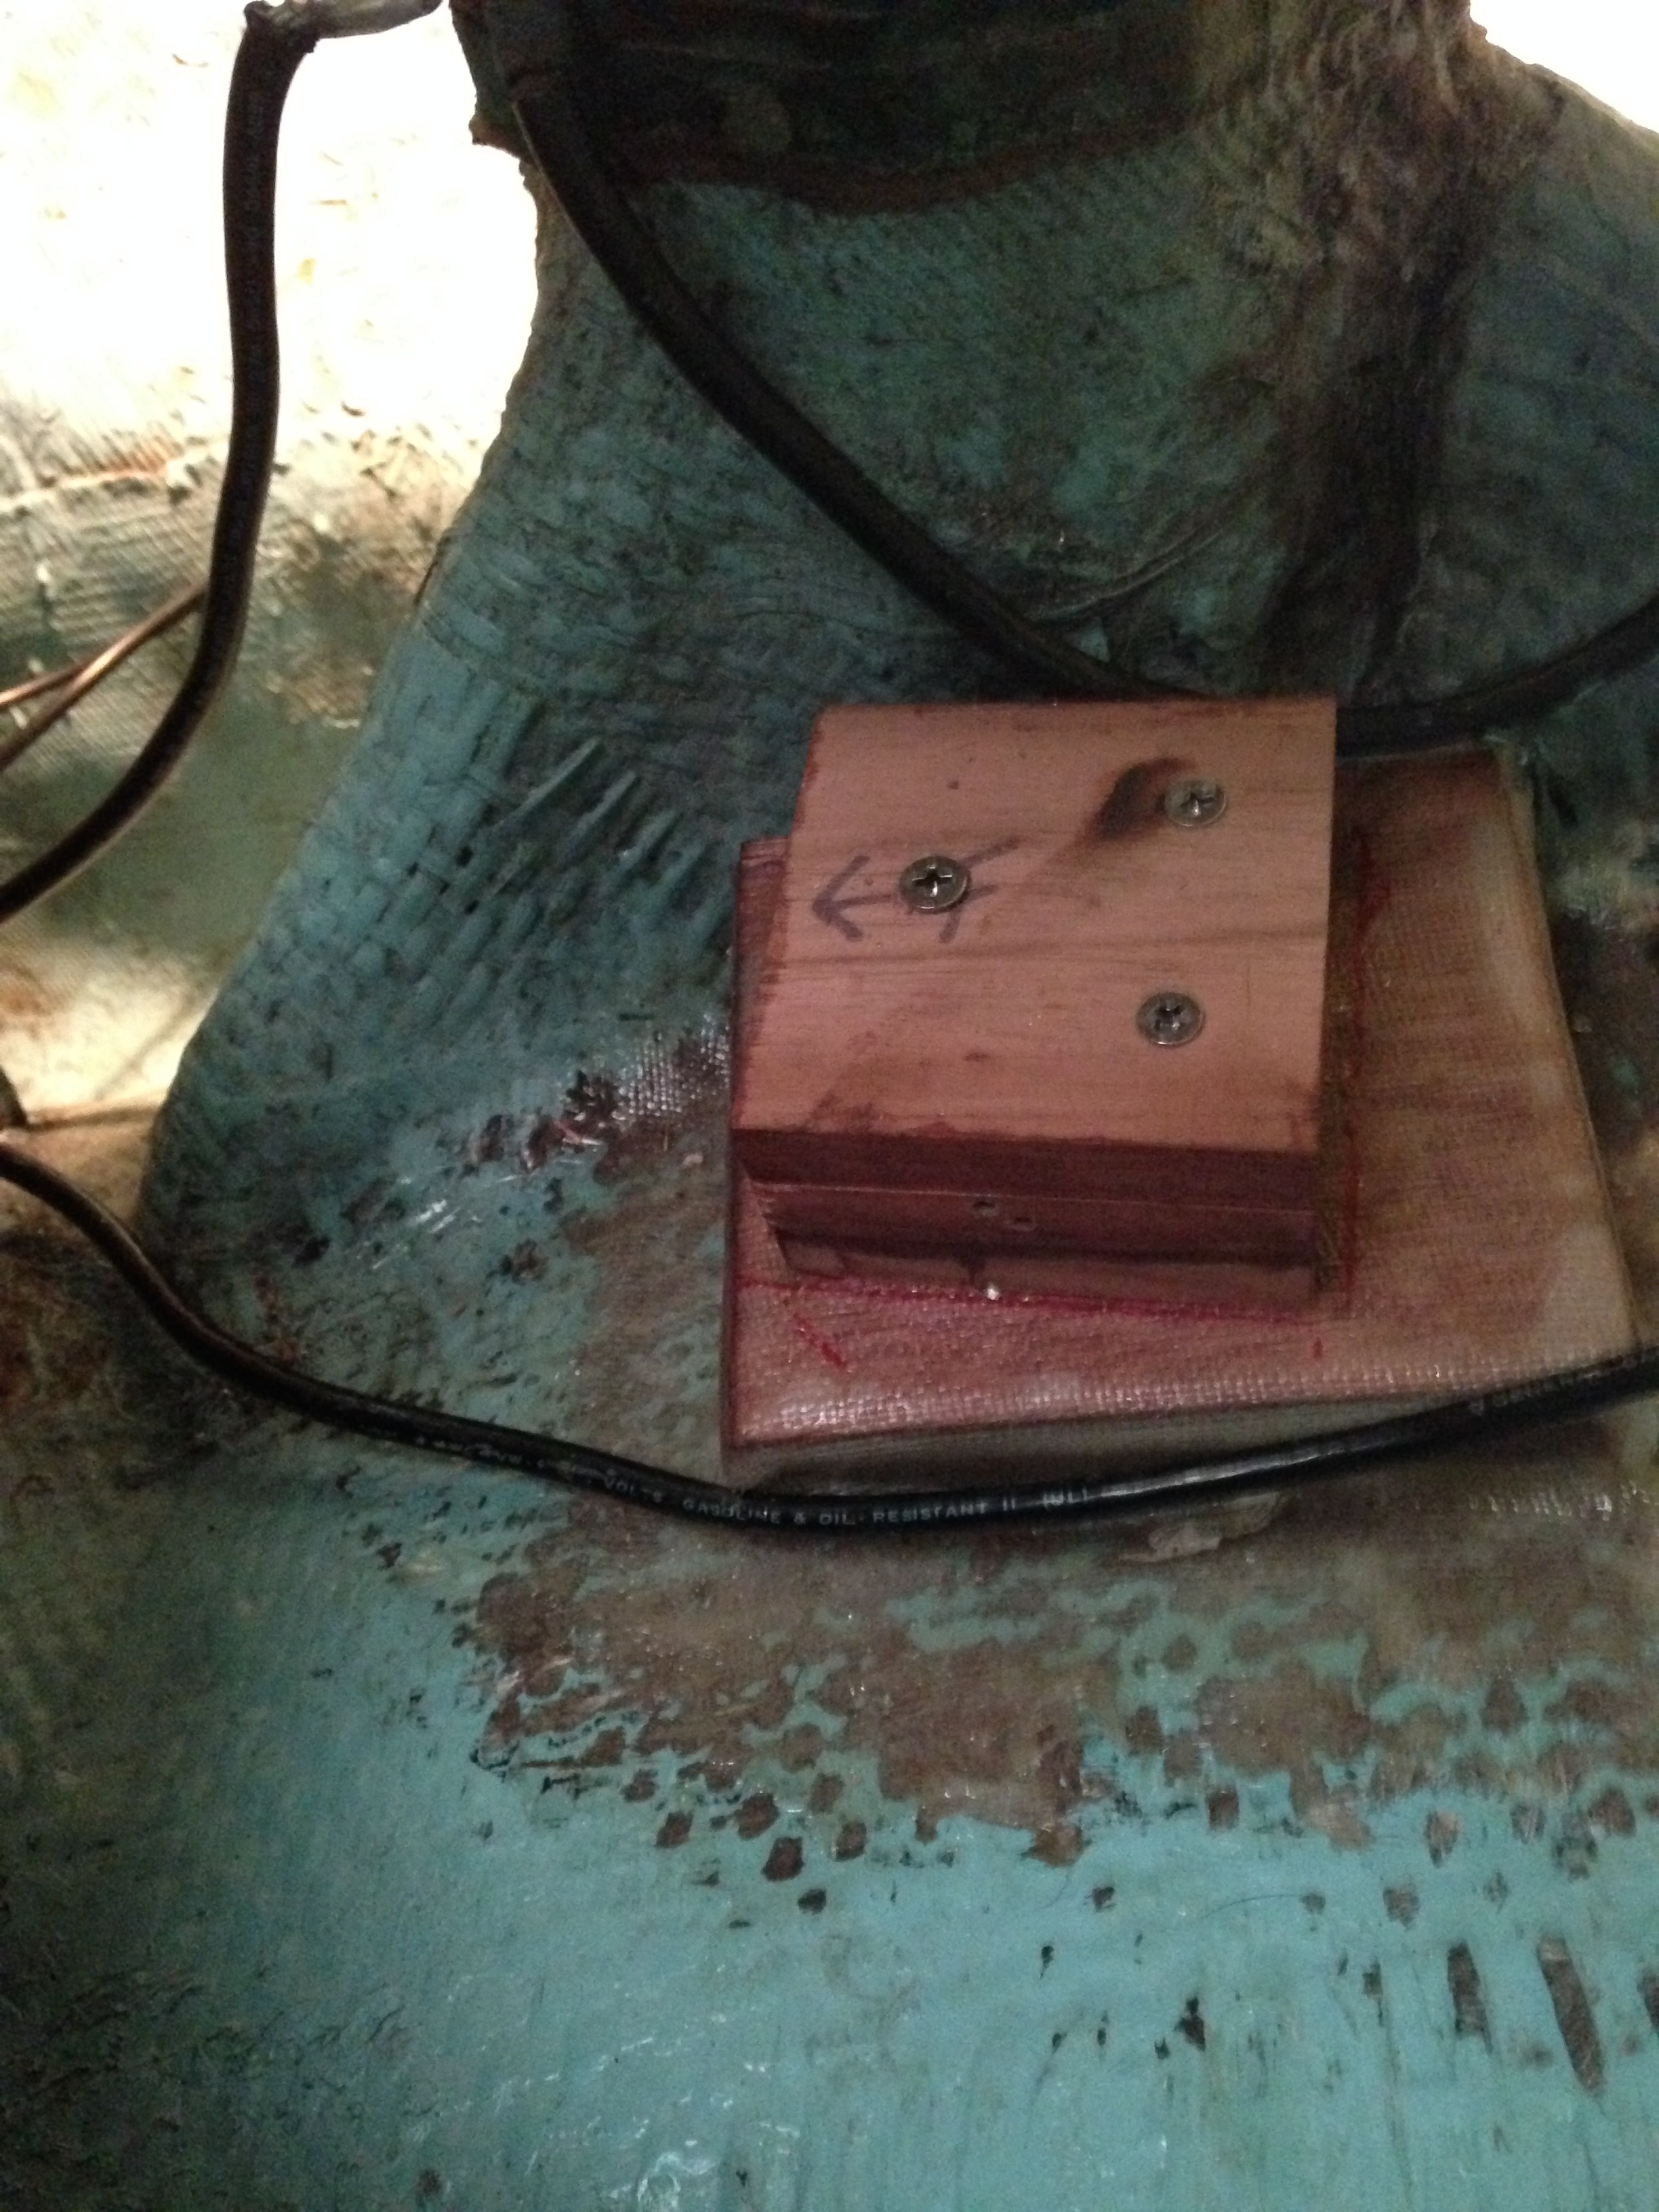
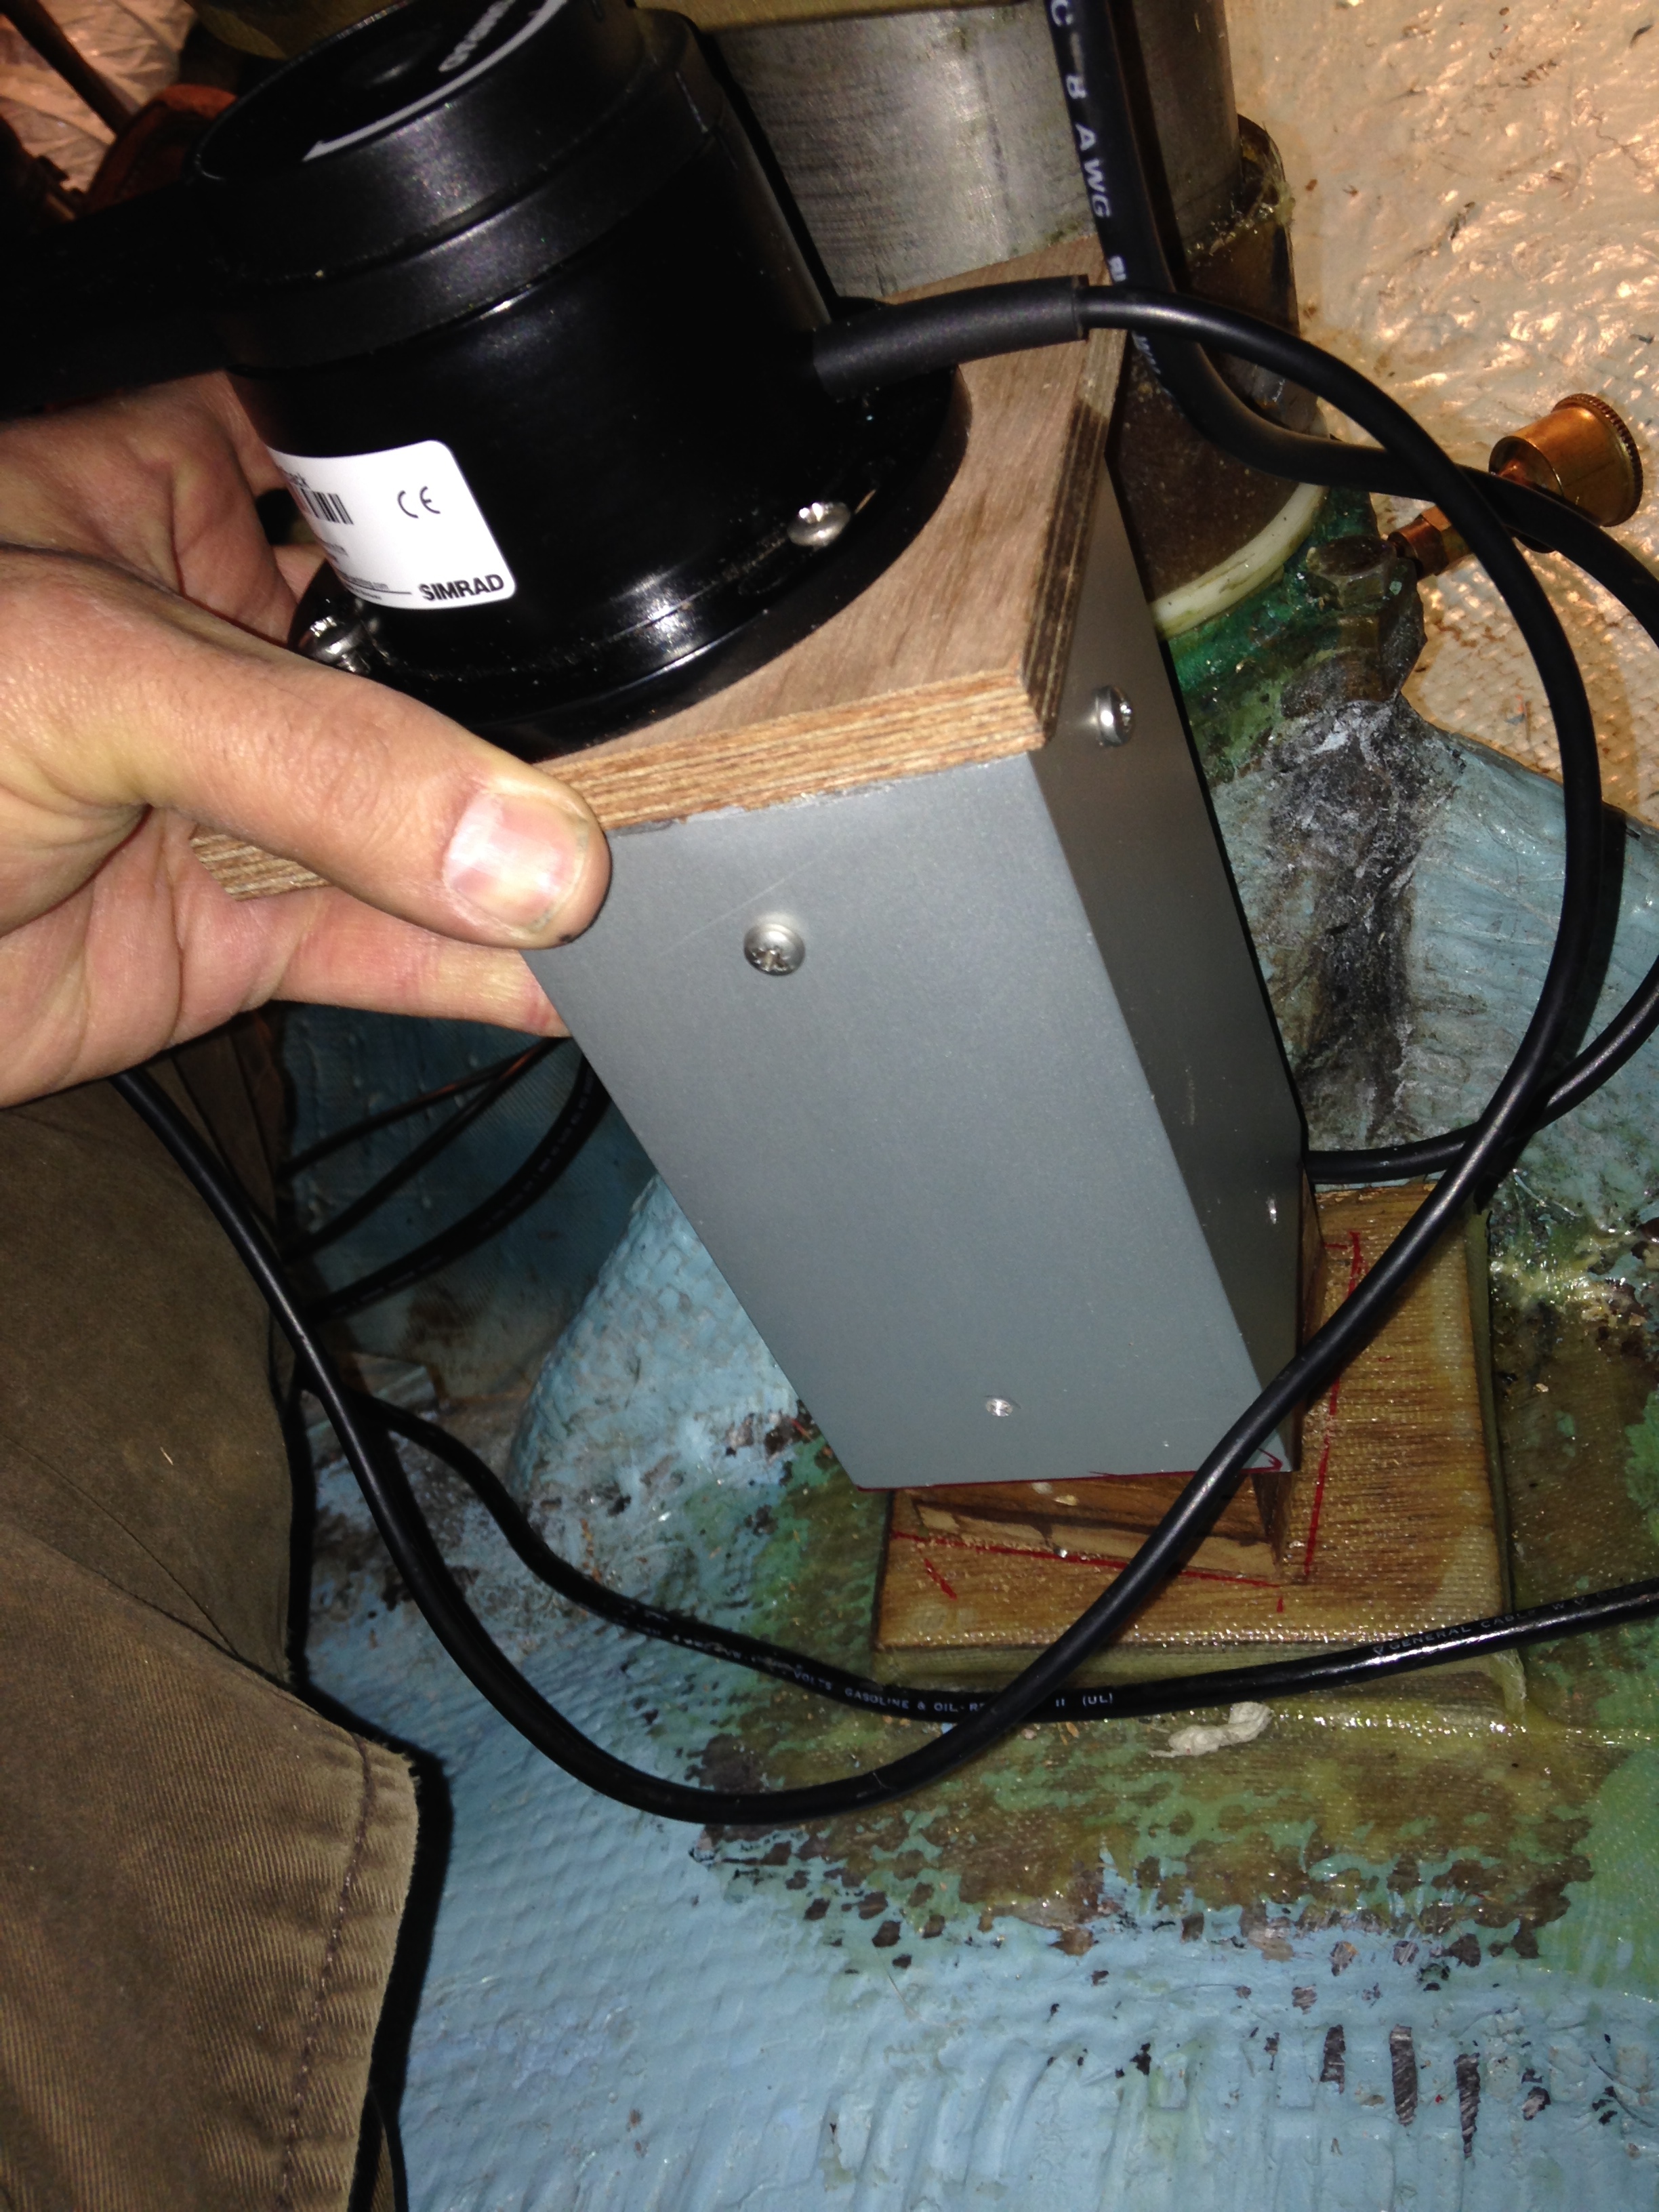
I had to come up with a way of supporting the new underlayment and bonding with the existing floor. I decided to make some brackets out of 1/4″ G10 epoxy board and bond them to the existing sole. I used 1/2″ Meranti ply to make a new shower support. I decided to double it to improve rigidity. I templated the new support before cutting and sealed it with a few coats of straight west system.
1/4″ G10 epoxy board brackets to support sub-floor
Fitting new shower support
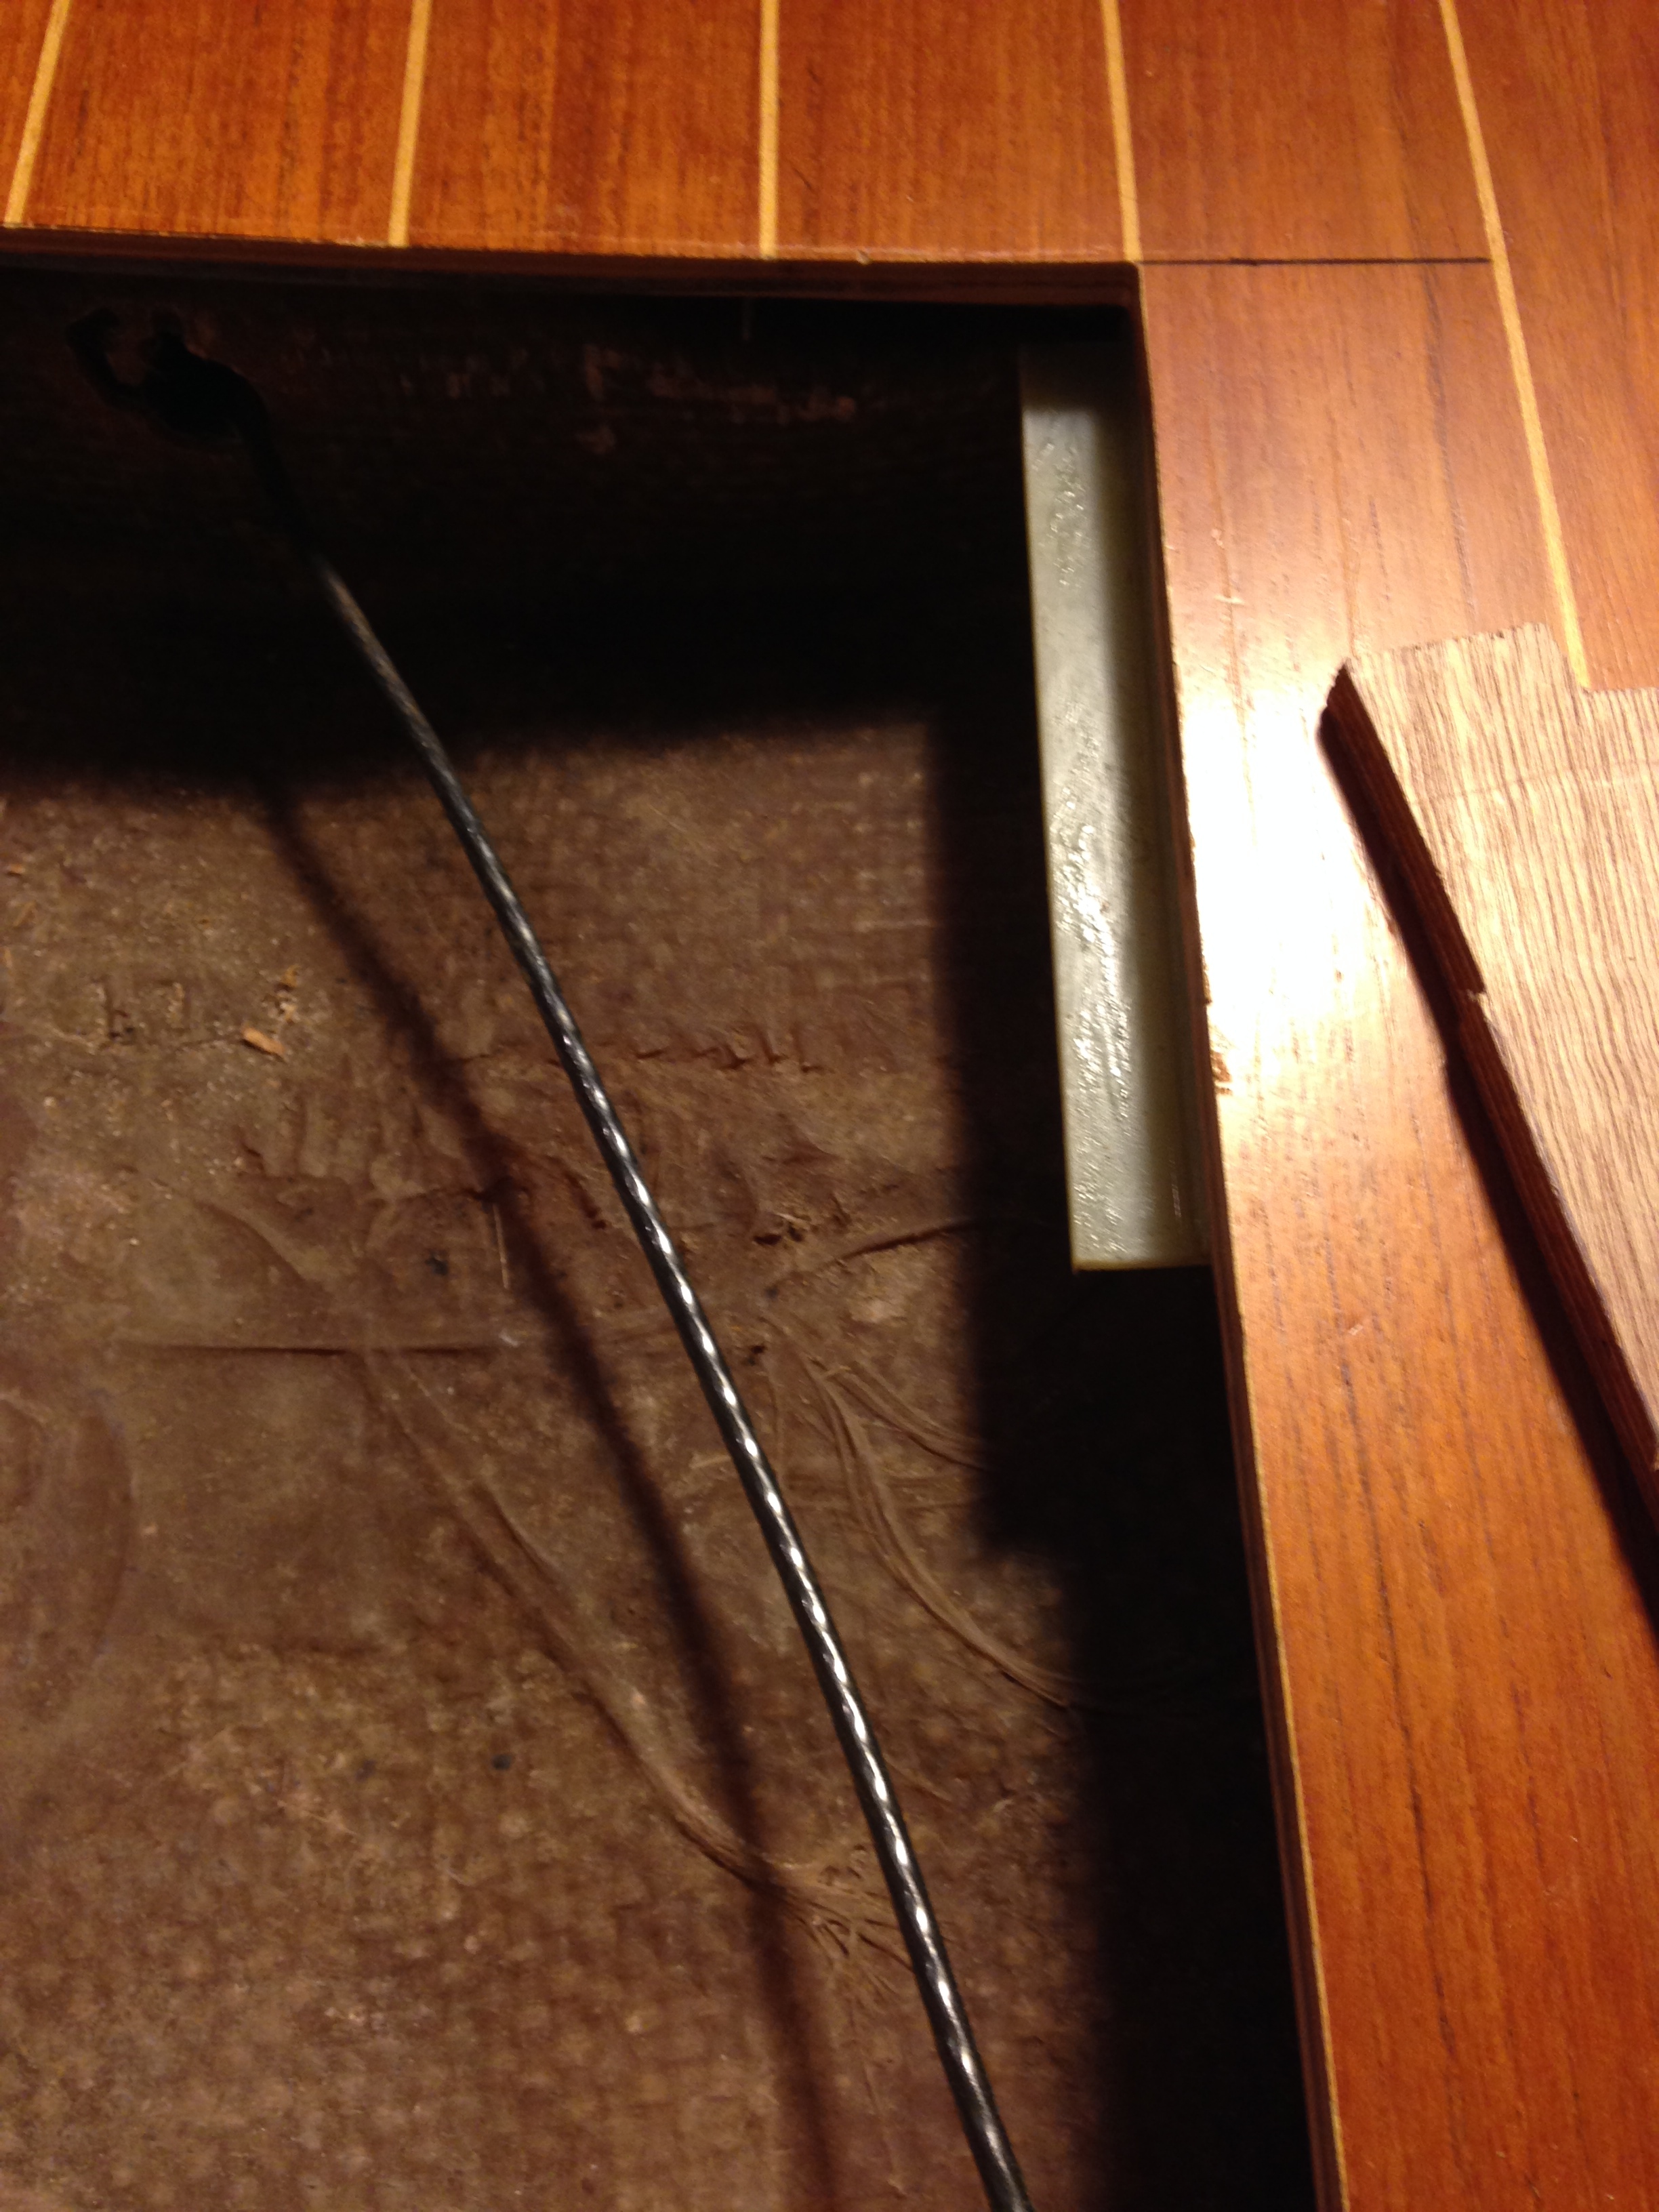
After the new support was fitted and brackets installed, I templated using a piece of 3/16″ luan ply and transferred to the Meranti 1/2″. To deal with clamping and curvature I drilled and tapped 10-24 holes in the G10 for mechanical fastening. For fastening into the mast support beam I reused the 1.5″ slotted wood screws that came out during demolition. Note that I filled all the old screw holes with west in an epoxy syringe. I also did some drill samples in the beam and step to make sure there was no water damage inside. Everything looked pretty dry.
I used epoxy on the brackets, shower support and subfloor edges (not where it is attached to the beam). This will allow the patch to be removed if I ever opt for a complete sole replacement in the future.
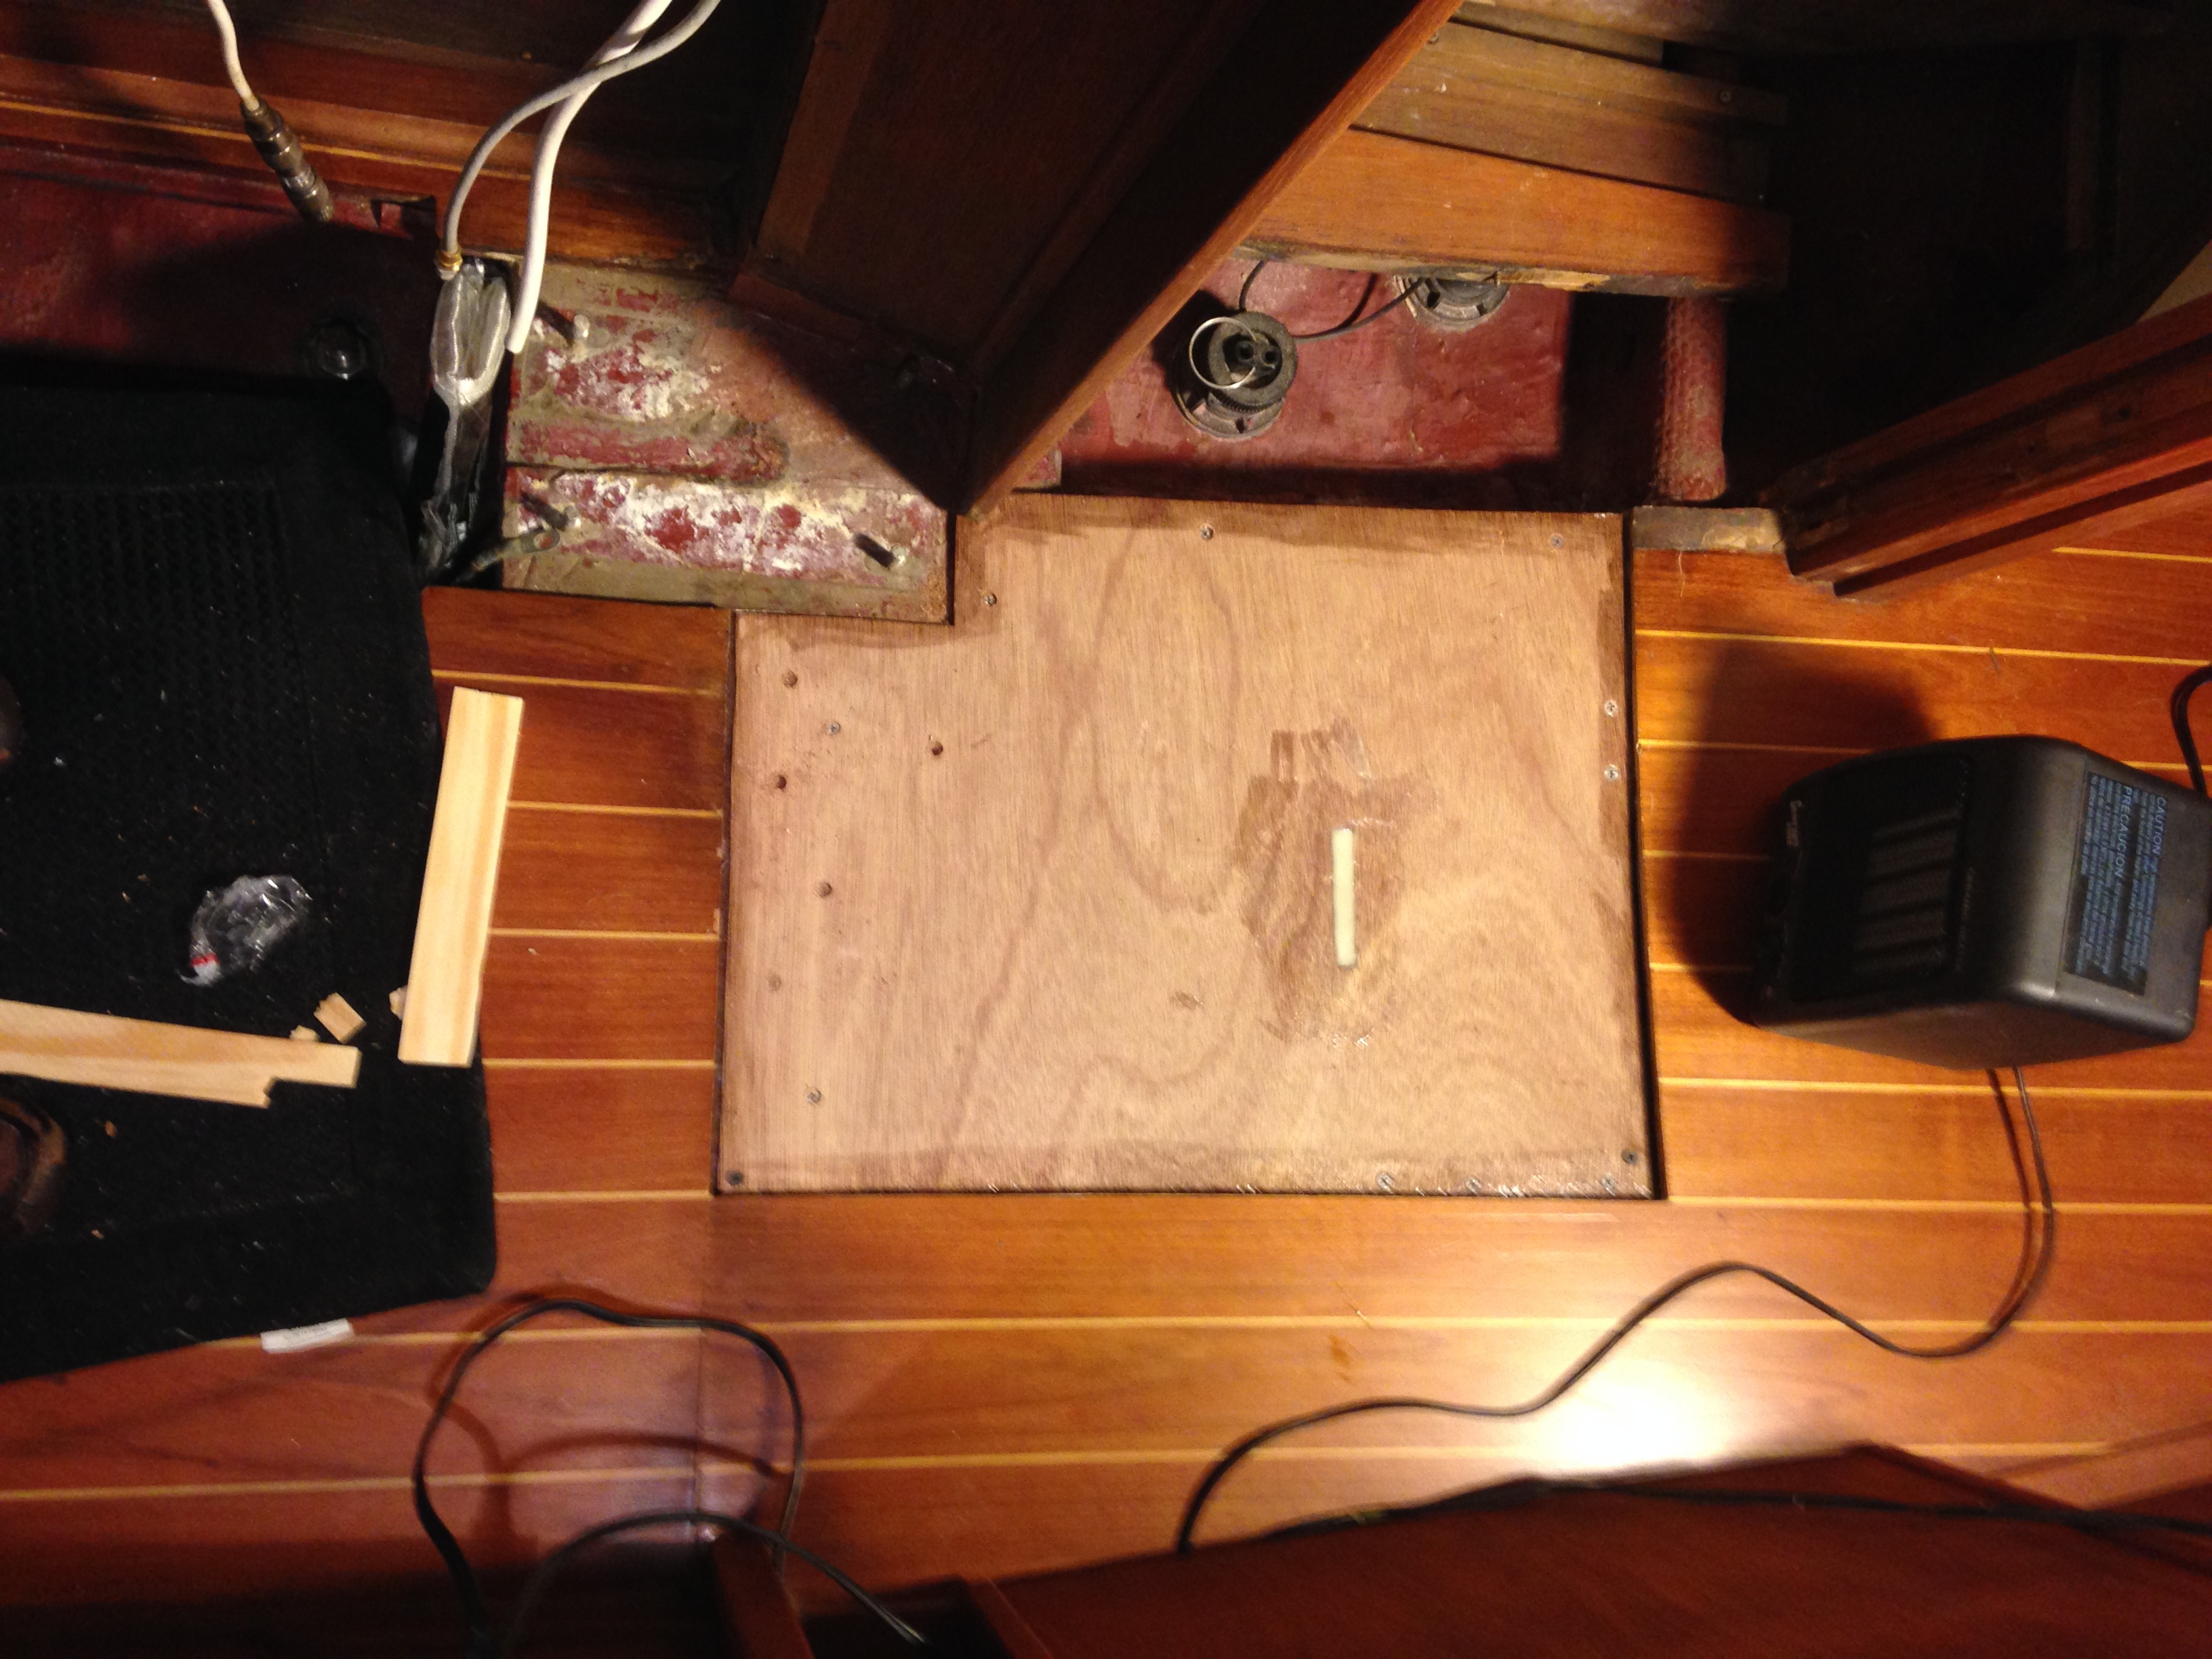
Subfloor patch installed. Edges were sealed with two coats of epoxy. Things looking better already.
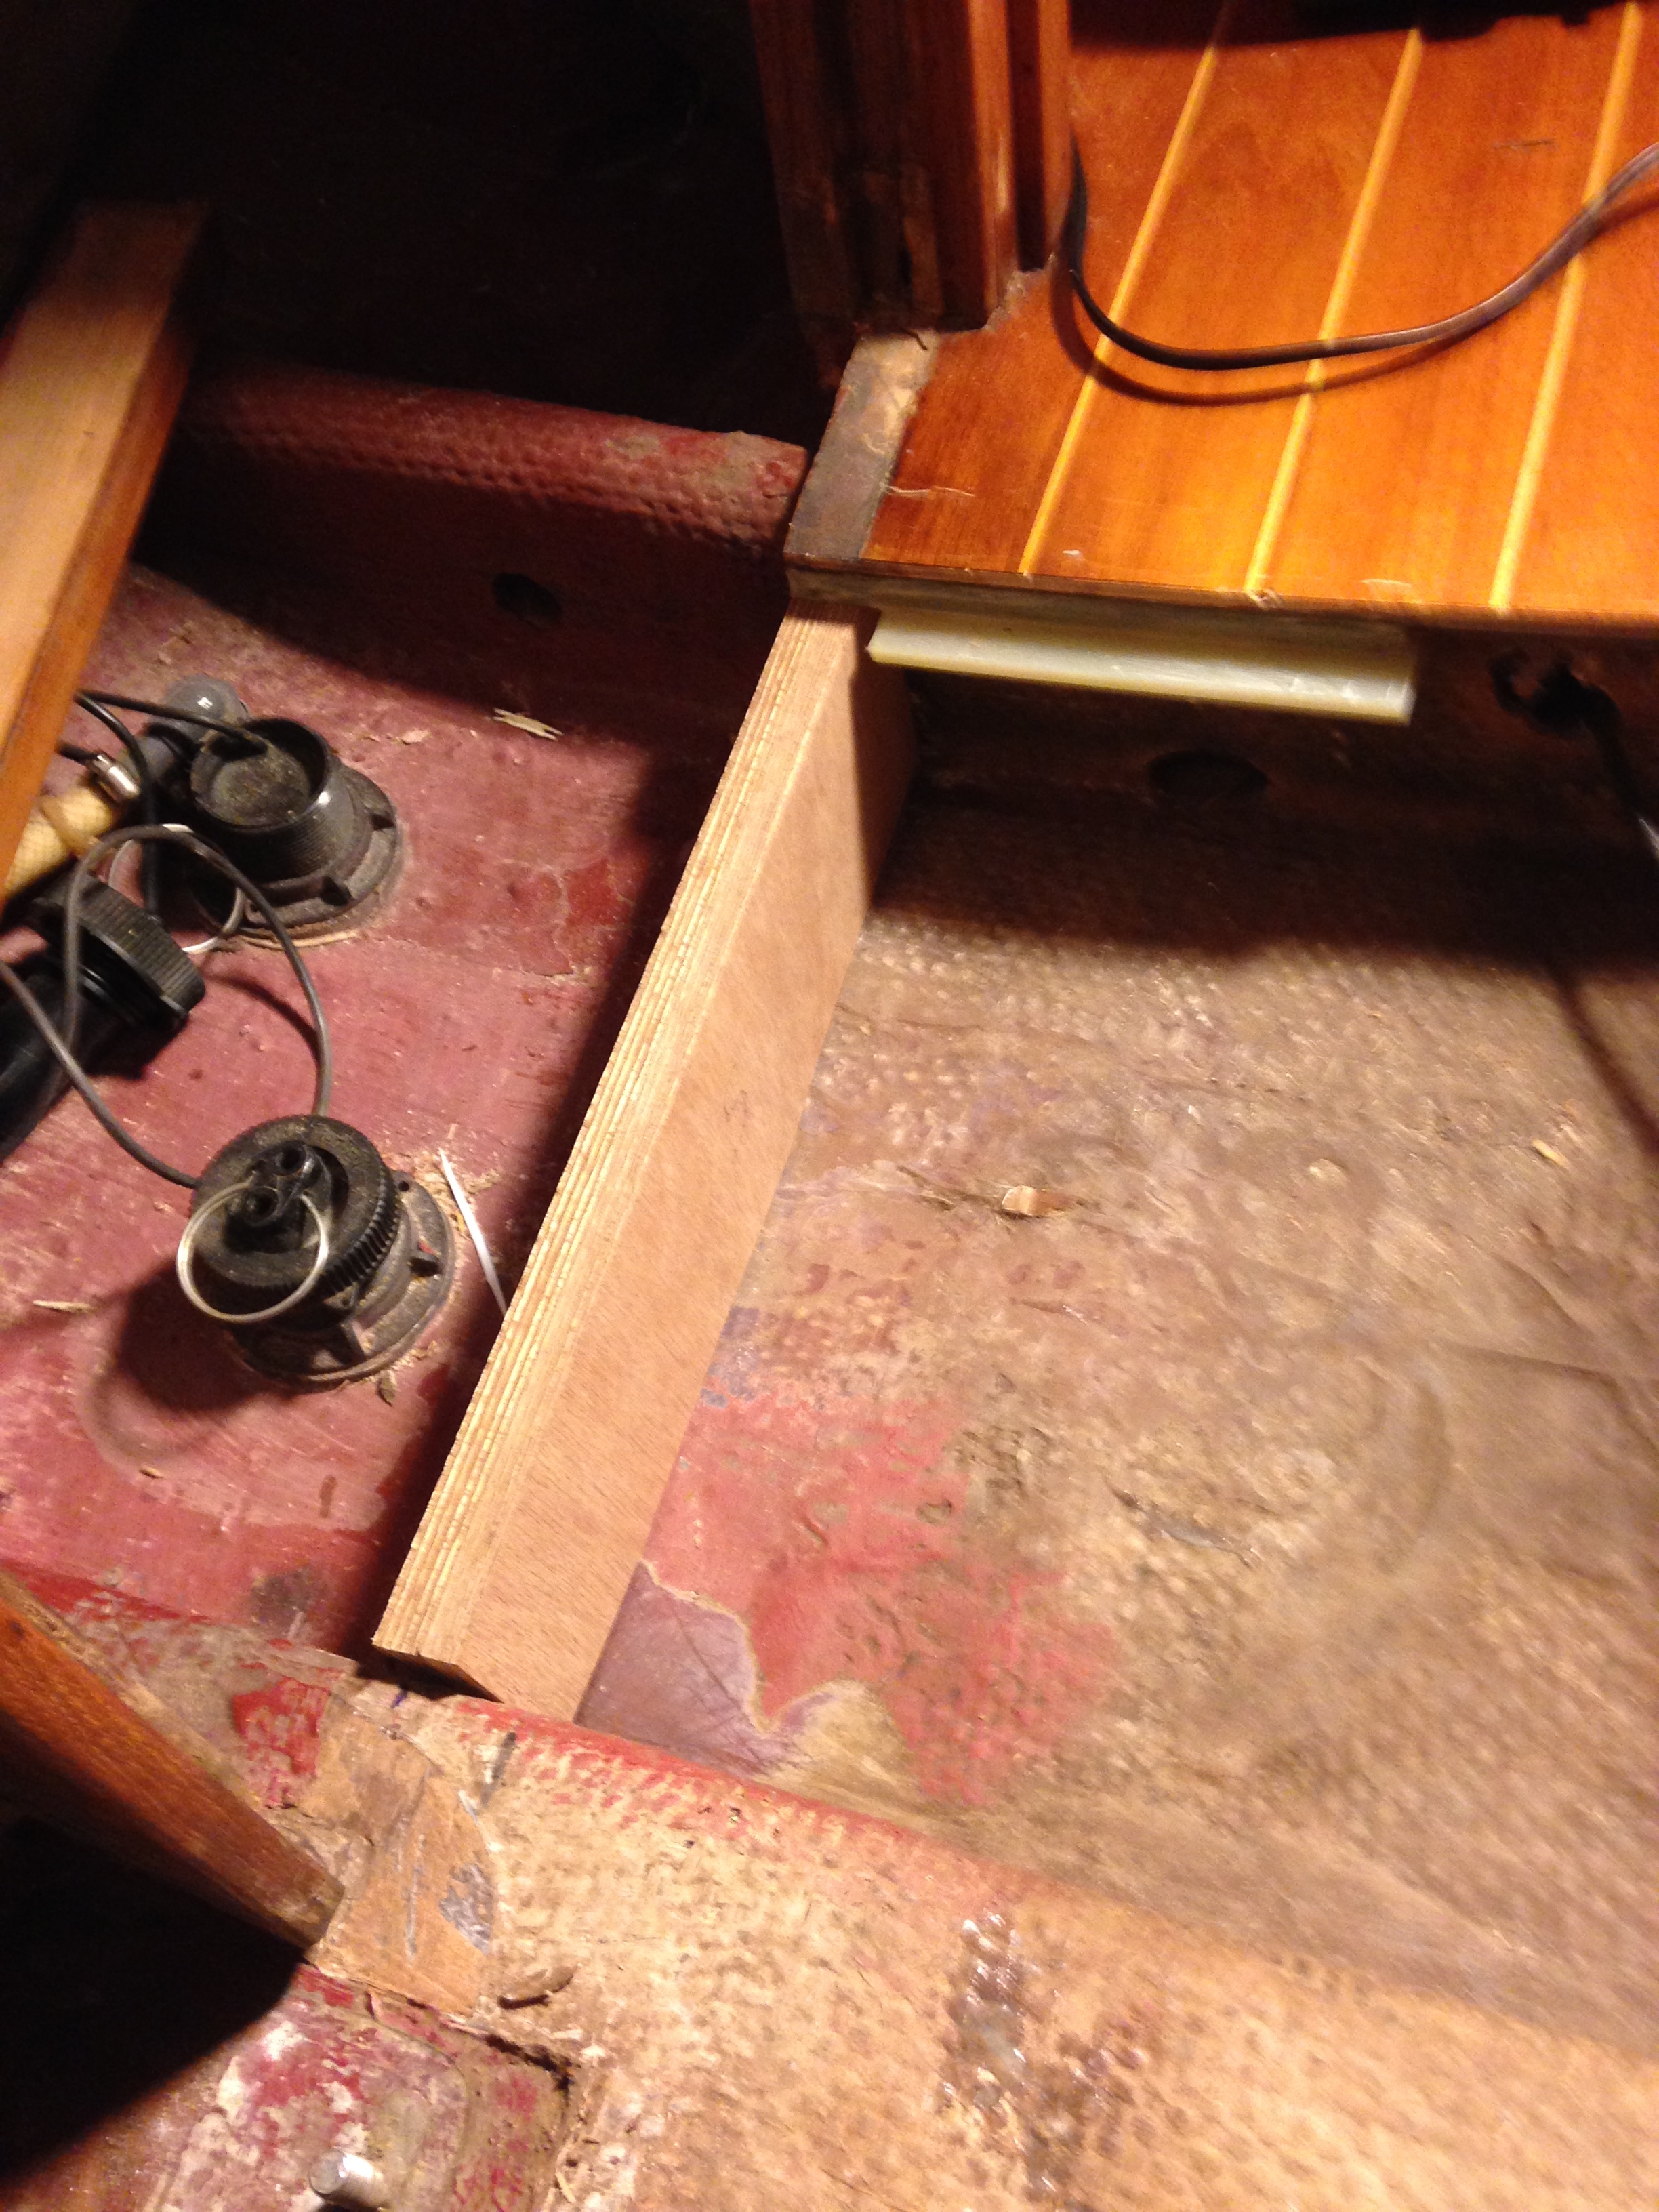
After I fastened the ply I cut a slot in the center and inserted a small piece of ply as a center support. The piece was epoxied to the hull underneath. I also epoxied in the new shower support and screwed the subfloor to it.

Poor shot of new shower support with thickened epoxy seal. This will be covered with cloth later.